

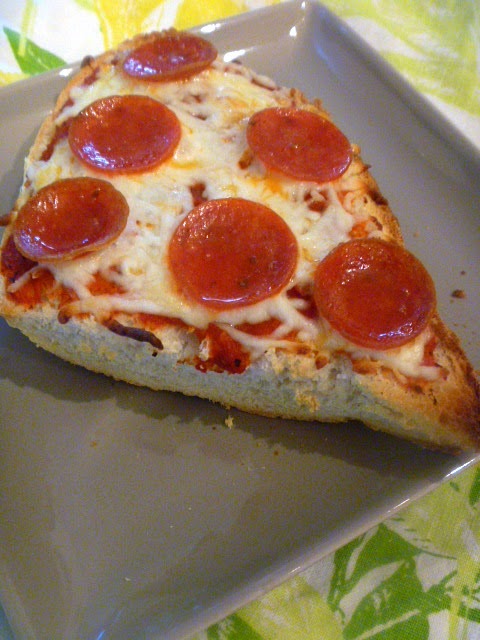
It’s French Bread Pizza time!
We did a lot of running around last weekend doing so many fun things. I just love when we have a 3 day weekend and are able to make the weekend fun and relaxing. It just makes the weekend more special when we don’t do the usual…you know chores, errands, laundry and such!
So in between running around I found myself hungry…go figure. With not that much time on my hands to cook I had to make and eat something fast so I could get on with the partying!
Looking around the kitchen I spotted a loaf of fresh French Bread and that sparked an idea. I’ll make French Bread Pizza. I don’t usually eat pizza this way but I remember that I used to love it when I was younger…huhhmmm…and French Bread Pizza was in style; the big thing at that time!
I pretty much always have the makings of pizza on hand. So out came some pizza sauce, some pepperoni that I keep in the freezer, (Turkey pepperoni is really, really good.) and some shredded mozzarella cheese. Honestly, any cheese is the bomb on a pizza. Hello, melted cheese? Yes please!

This is so easy to make. Just cut the French bread in half and you have your crust or base to put on the toppings. Heat up your oven and pop it in to bake for about 10 mins until everything is hot and melty and the bread starts browning. That’s it! Lunch is served!
Kitchen Tip: Enjoy some extra zing by sprinkling on some Pizza Seasonings on top of the sauce. You can pick up some here.
Enjoy a quick meal of old school French Bread Pizza when you can.
French Bread Pizza
Serves 2
½ loaf of French bread – sliced in half lengthwise
Pizza sauce
Pizza Seasoning – a sprinkle
Shredded mozzarella
Pepperoni – turkey or the real stuff
Optional: any topping that you like
Heat oven to 375 degrees. Place bread sliced side up and spread on pizza sauce. Sprinkle pizza seasoning over the sauce. Top with shredded mozzarella cheese. Top with pepperoni or your favorite toppings.
Place on a cookie sheet and place in the oven. Cook for about 10 minutes or until the cheese is melted and bubbly and the bread has slightly browned on the edges. Serve immediately.


